The piecing is done! Well, sort of (read on.) This was my hand-pieced project for the past 9 months. This is a BOM, typically offered as a 12 month program, but my local quilt shop had a 6 month program. Each month I got two baskets, and in the last two months a lot of fabric for the center medallion and the sashing. I did not work on it for about two months, during my illness, but when I when back to work I worked exclusively on this pattern in order to catch up.
I chose to join this BOM for several reasons. First of all the fabric combination, which is something I would never pick for myself. Then the fact I wanted a hand pieced project that would not bore me to death. The nice thing about this pattern is that every basket is different, and the difficult increases as the months go. I got an overdose of half-square triangles, too. I did not use the suggested BerriAngles, because since I was hand piecing I felt I was able to control the bias.
I also got a lot of left over fabric. I planned my cutting very carefully. It seems to me that patterns sometimes suggest the least efficient way to cut. I guess screw ups need to be taken into account… Still this is not a cheap BOM (is there such a thing?) so I made sure I got a good return.
Speaking into screw ups… one thing I’ve learned was to check the designer’s website for errata. I noticed that the sashed basket borders were not aligning with the center side stripes. I assumed it was my lack of precision, although in general I was pretty happy with the results. Only after all was said and done I learned that the stripes in the printed cutting instructions were wrong by 1/8″. It’s pretty obvious in the photo, and I know I’ll have to square it off after quilting. I might lose one of the vertical green stripes, sooo that’s why I’m considering it sort of finished. I have to do something about it, so I’ll sew the side pieces again. After all this work I cannot bring myself to accept this mistake.
One pleasant surprise to me was the tridimensional applique. I debated a lot which technique to use, and decided for this one which I had never tried. I was very skeptical for a long time. The amount of work is insane. I think I’ve spent about the same amount of time for the 4 corner baskets as I spent for the rest of the quilt. EVERY single piece of the flowers need to be made, and stitched in place. I typically love to work production style, but this time I finished one basket to see if the time spent would be worth its while. I have to say the result is outstanding, even with my mediocre applique skills! One thing I’ve changed is that I stitched in place all the petals. The pattern suggests not to stitch the ends so that they move, but I did not feel comfortable about that. The stress during washing would make them weak wearing spots, and I was not about to see my work literally unravel.
One does not realize how big this top is until it’s time to assemble. I opted for the queen size, which is a healthy 90×90 inches (the lap size is 70 inches square). When it came time to photograph this beauty I had to take it to my job where I have plenty of tackable surfaces. When I took the first two photos the results were really bad for such a nice piece. So the beautiful photos in this post are courtesy of my friend architect and photographer Mathew Fickett. Make sure to check out his Flicker account for some really great photography.
I am very proud of this piece so far. Everyone that has seen it gasped at its beauty and complexity. I really want to be able to quilt it, but will have to figure out the logistics of quilting such big piece. I only have a small kitchen table, so I’m considering going to my local quilt shop, or doing it at work. Overall I would definitely recommend this pattern, specially if you enjoy (as I do) what I call “long term relationship with a pattern”. The Monday following the end of it I did not know what to do with myself, but of course it’s never too hard to find something amazing to work on!
Filed under: Applique, Calendar Quilt, Hand piecing, Pattern review, Quilting, Willowberry Lane | 6 Comments »


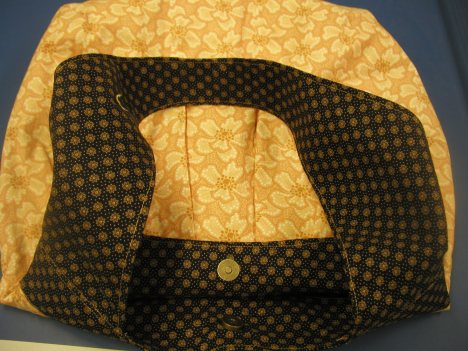

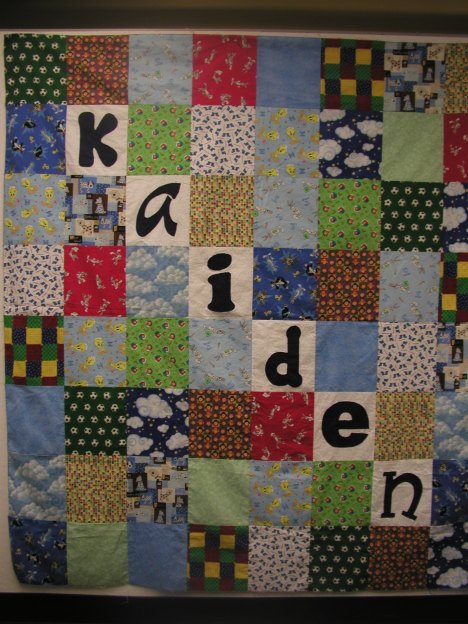
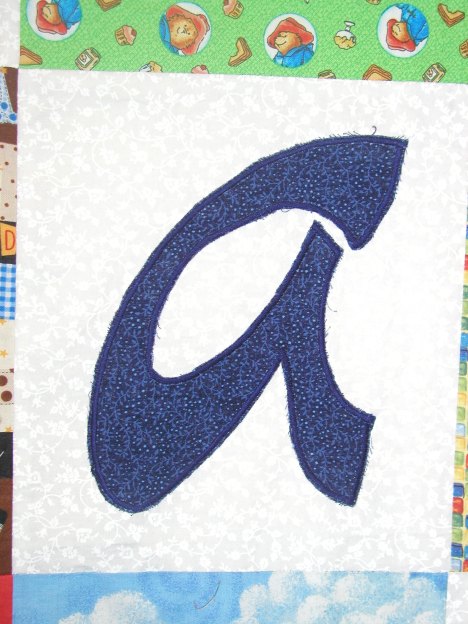
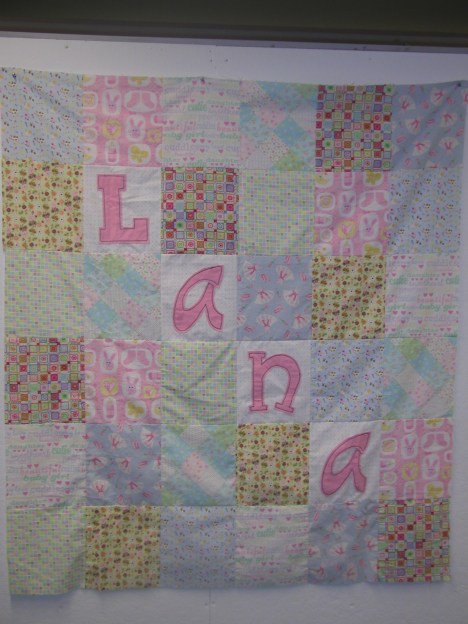
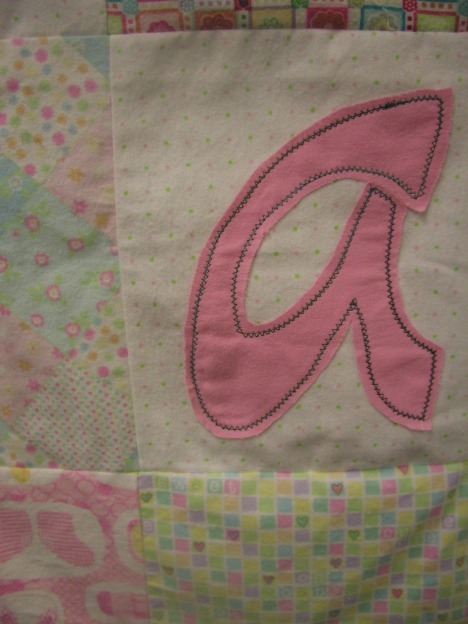
 The Name Game is one of the many patterns in the “Fat Quarter Fonts” book, by Atkinson Design. The book describe a method of machine applique that is a crossover with paper piecing, where no fusibles are used. The patterns are designed for fat quarters and charm squares. The accompanying CD has 2 alphabets in two sizes, drawn in reverse. You can print the letters on foundation paper, than you layer the fabric for the letter, the background and the letter template all with the wrong side up. After pinning in place you just run the “sandwich” on your machine, following the lines on the paper. I made two quilt tops so far, one for my son and one for my niece. I used two very different methods, which I will describe further down.